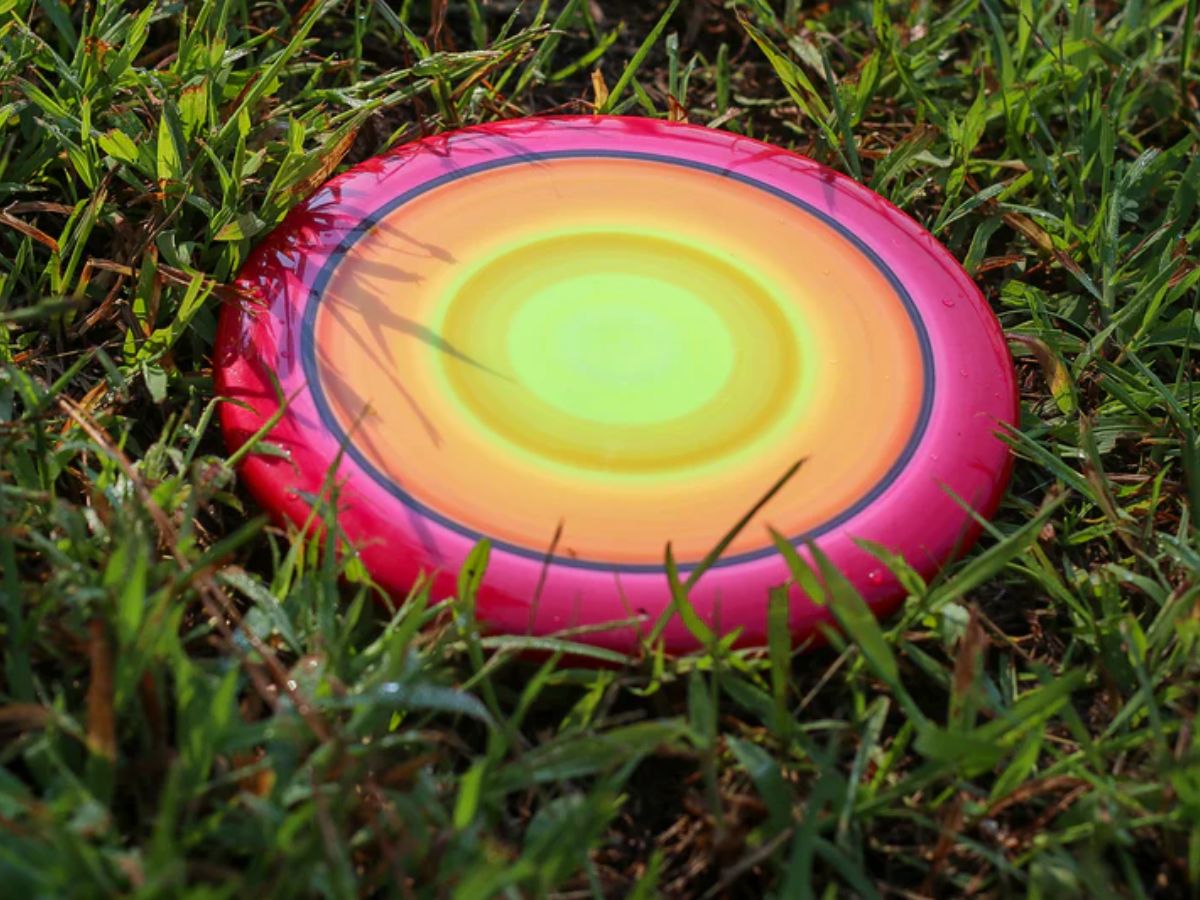
Custom discs are highly cherished by disc golfers who hold sentimental attachment to their equipment. It’s not surprising that a lot of people have tried to dye their discs on their own. Many people end up with a collection of discolored discs and stained shirts, but some continue to search for the optimal method to dye a disc golf disc.
Like many of you, I struggle with custom dyeing discs. Fortunately, you can benefit from my errors! This post will cover some fundamental aspects of dyeing discs that I have encountered and discuss key elements of each stage in the process. We will be sharing more detailed and advanced posts in the future.
What Discs Are Best To Dye?
It’s a good idea to practice dyeing on a disc you don’t care about ruining before trying it on your favorite one. Various types of plastics used in discs can impact how dye is absorbed, leading to varied final results. Here’s a simple guide: Opaque premium plastics, such as Innova Star, are perfect for dyeing and retain color effectively.
Translucent plastics (such as Innova Champion) are less absorbent and help preserve the disc’s original color. Innova DX base plastics can be challenging to dye, and the color may not be long-lasting. Keep in mind that the greater the curve of your disc’s flight plate, the more dye drips you will encounter and the harder it will be to position a template or design cut-out.
Golf Disc Dying Process
Just like any effective procedure, the disc golf disc dying process starts with planning. Planning is essential for achieving the best results and avoiding large stains on your clothes and counter tops. Make sure to carefully plan your design and set up for the best results. This is my usual setup, but I may change it based on the method I choose.
The pie tins under the discs collect any spilled dye to prevent a mess. I prefer using pie tins when I dye with shaving cream. I always keep a bottle of clean water on hand for quickly cleaning up spills, along with extra towels. Having a knife or pair of scissors nearby is helpful for projects like these.
Tips to Dye Your Golf Disc
It might be unnecessary, but it’s a good idea to clean your disc before using it. Soil and oil can lead to flaws in your dye job. If the dye doesn’t stick to the stamp, you might want to consider removing it. There are several methods available.
- Using rubbing alcohol (isopropyl alcohol) is considered a safe option because it does not damage the plastic, although it may not be as powerful as other chemicals.
- Acetone can effectively remove the stamp, but it may damage the plastic if left on for too long. Consider using nail polish remover, but keep in mind it may not be as efficient and could leave a fruity scent on your disc.
- Brake Cleaner is suggested by Tim at Mind Body Disc for its effectiveness in eliminating dirt, grease, and sticky substances without causing disc damage as rapidly as acetone.
After finishing, remember to thoroughly rinse away all chemicals to prevent them from impacting the dye job. Just a quick tip: Be gentle when cleaning soft plastics with cotton balls, avoid scrubbing or scraping too hard. It may seem obvious, but it’s common to forget and leave scratch marks while scrubbing. In particular, Innova Pro and G-Star, Prodigy 400G, and other soft and gummy plastics are vulnerable.
Check This One: How Many Holes in a Round of Golf? A Detailed Look at Regulation and Variations
Apply Dye Using Your Selected Dye Method
Once your iDye Poly solution is ready, it’s time to color your disc. I suggest wearing gloves (latex is my preference) and either working outside or fully covering your surface. I accidentally got dye on my corian counter top and had to scrub it with a magic eraser for a long time to get rid of it. Once you’ve decided on your application method, here’s a rundown of the options available:
- Paint brush is not very refined and may result in visible brush marks, yet it offers a decent level of accuracy.
- Soaked fabric requires more effort but is effective in preventing bleeding and allows for creating unique designs.
- Squirt bottle – Creates interesting splatter patterns, but can be a bit messy and requires more effort. It’s also handy for making stencil dyes quickly.
- Bucket – If you wish to alter the color of your disc entirely
Final Words
Custom discs are cherished by disc golfers, and many try to dye them themselves. The process starts with planning and using appropriate plastics. Opaque premium plastics like Innova Star are ideal for dyeing, while translucent plastics like Innova Champion help preserve the disc’s original color. The greater the curve of the disc’s flight plate, the more dye drips and the harder it is to position a template or design cut-out. Before dyeing, clean the disc with rubbing alcohol, acetone, nail polish remover, or brake cleaner. Rinse away all chemicals and be gentle when cleaning soft plastics. Apply the dye using a paint brush, soaked fabric, squirt bottle, or bucket.

